CI/CD Exercises
CI/CD: Day 1
GIT/GITHUB
These are exercises that will be done during assessment week in order to familiarize devs with git. We will be using Git and Github for these exercises.
Create a Repo
Go to your GitHub account, login, click on repositories then click new. At repository name field add hello-aca-github. Under description just add This is my first experience with git under ACA program. Leave it as public, then check the add readme file option. Finally click on create repository.
Clone
Click on “code” dropdown ****then clone (copy the link of) the remote repository to create a local repository on your dev machine.
Open your terminal and type git clone < copied*url**>***
Add
Open VSCode, create an index.html file within the cloned directory (project folder) and add basic structure that prints “i love aca.” Then create JS and CSS folders with appropriate empty files(js and css files) inside. Add the changes in the working directory to the staging area.
Status
Back in your terminal, check the state of the working directory and the staging area of any pending changes.
Commit
Commit changes with the appropriate messages, the message should briefly best describes the applied changes. Use present tense and imperative mood eg Modifies the calendar app header
Push
Push the changes, this will take the committed in the local repository and uploads them to the remote repository.
Create Branch
Create a new branch called toggle_button_feature in your local repository
Checkout (repeat the previous steps to commit new code)
Navigate from branch main to branch toggle_button_feature. Add javascript and css code that creates a toggle button which when pressed it prints out “ACA just taught me about continuous integration and continuous deployment.” Repeat the steps Add, Status, Commit and Push but in the new branch (toggle_button_feature).
Merge
On your remote repository in the github interface, create a Pull Request to merge your toggle_button_feature branch to your main branch. Add this comment to the PR “This is my first PR in the ACA program”. Then complete the PR merge yourself.
VERCEL
Hosting server are facilities that holds built code (product) so it can be accessed by people on the internet. For this exercise we are going to use Vercel and in the future we will use other hosting platforms like Netlify, AWS, Azure etc
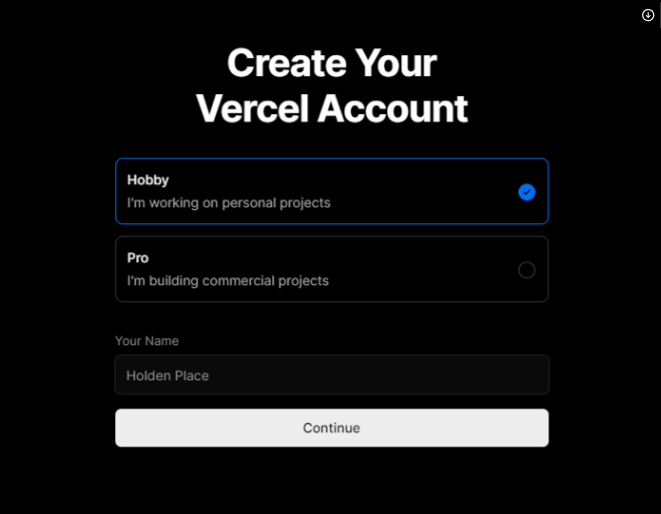
- Create a Vercel Account (https://vercel.com/signup)
- Select Hobby account and add your name
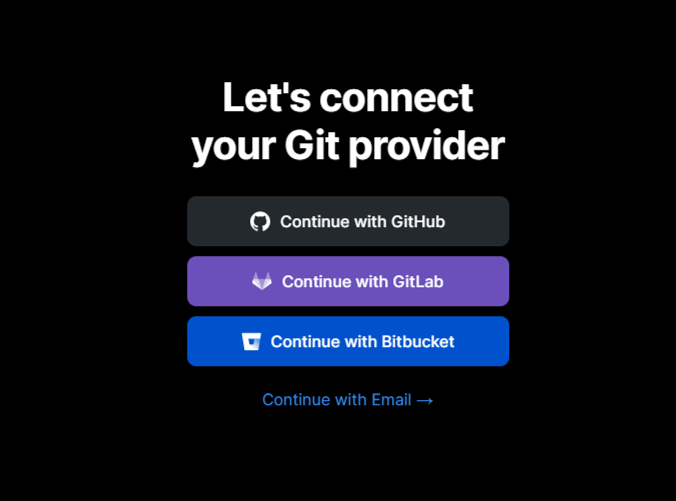
Select github as your git provider
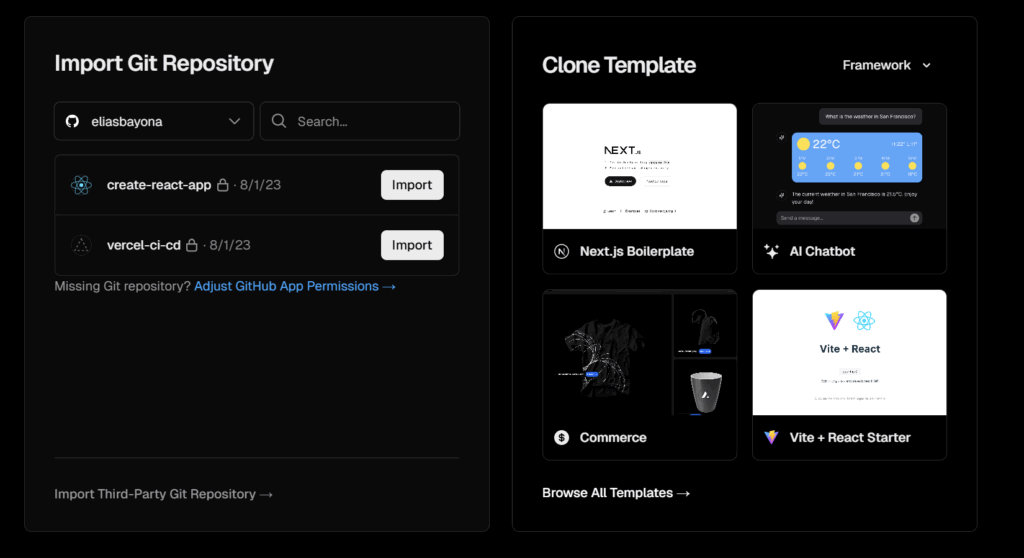
From your home page under overview, you should be able to start importing your project. select import Project. this will add a repo from the connected git provider.

You should see a list of repos to select from, click import and let the magic happen
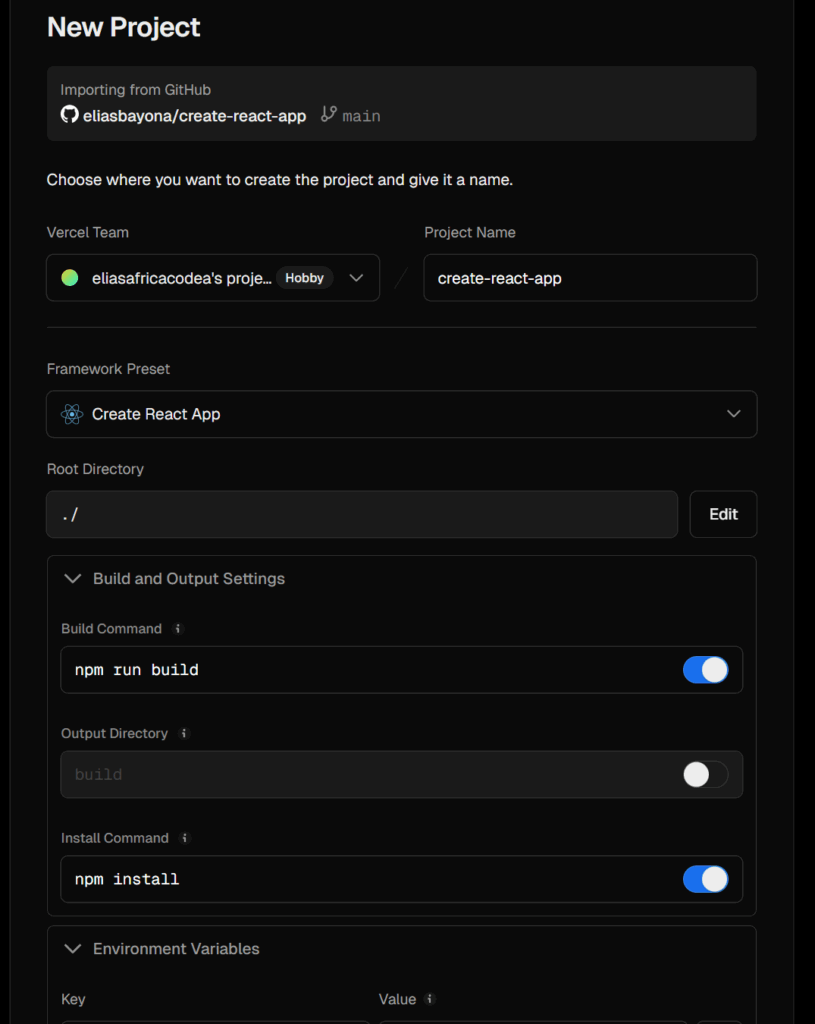
Under build and output settings, make sure that you have “` npm run build“` under the build command setting and “ npm install “ under install command
Then click deploy.
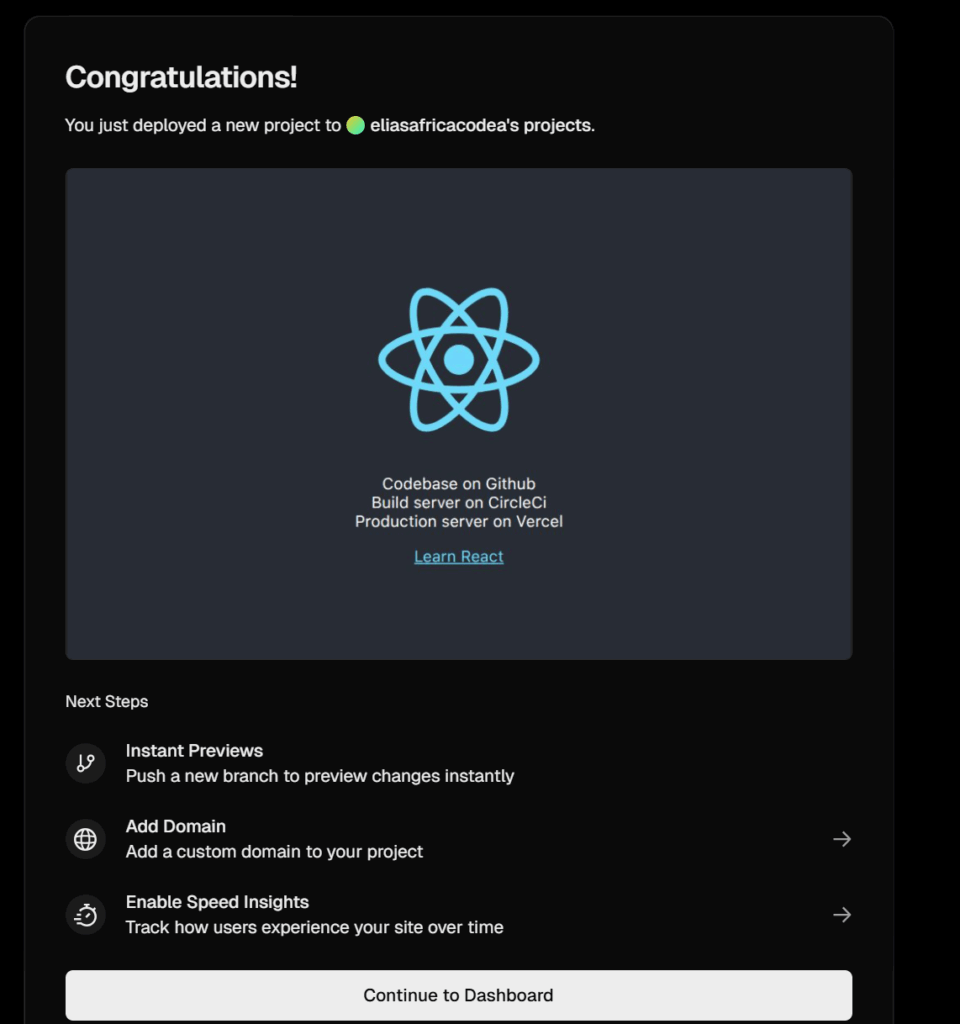
This is what you should see if your deployment was successful
But how do you access the webapp and share it with your friends????
Go back to your dashboard and you should see your deployment and the domain url for where your application is hosted

Deploying BACKEND API on Vercel
Hosting Server (Vercel) (other alternatives include railway.app, fly.io, GCP and AWS)
https://vercel.com/guides/using-express-with-vercel
Deploying an Express.js application on Vercel should require minimal or no code changes. Let’s use the steps below to create a new Express.js project and deploy it to Vercel.
Using a Template
We have an example of an Express project that can be cloned and deployed to Vercel as your initial starting point.
Using an existing project
Before you get started, you will need to have Node.js installed and a Vercel account to complete all the steps.
1. Create a new project
In your terminal, create a new directory and initialize your project:
mkdir new-express-project cd new-express-project npm init -yThese commands create a new project directory and a package.json file with default settings.
2. Install Express.js
Add Express to your project:
npm install express3. Set up your Express.js app
- Create a directory named
/api. - Inside
/api, create a file namedindex.ts. This will be your main server file.
4. Initialize an Express.js server
Edit your index.ts with the following code to set up a basic Express.js server:
const express = require("express");const app = express();
app.get("/", (req, res) => res.send("Express on Vercel"));
app.listen(3000, () => console.log("Server ready on port 3000."));
module.exports = app;
This code will:
- Define the base route
/ - Return
Express on Vercelwhen it’s called - And start the Express.js server running on port
3000
5. Configure your project for Vercel
By using a vercel.json file, you can control how Vercel configures your application.
For our application, we’re going to tell Vercel to route all incoming requests to our /api folder.
To configure this, create a vercel.json file in the root of your project and add the following code:
{ "version": 2, "rewrites": [{ "source": "/(.*)", "destination": "/api" }] }6. Run your application locally
You can replicate the Vercel deployed environment locally by using the Vercel CLI. This allows you to test how your application will run as if it were running on Vercel, even before you deploy.
To get started, you need to install the Vercel CLI by running the following command in your terminal.
npm i -g vercelNext, login to Vercel to authorize the Vercel CLI to run commands on your Vercel account.
vercel loginNow you use the local development command, which will also execute the vercel.json configuration you created above.
vercel devRunning vercel dev will ask you some questions. You can answer however you like, but the defaults will suffice. This process will also create a new Vercel Project, but don’t worry, this will not make your Express.js app publicly accessible yet. We’ll get to that later.
When you’re done answering questions, you should now have a locally running server on http://localhost:3000 where you can test how your application works before you deploy to Vercel.
7. Deploy on Vercel
There are several ways you can deploy a project on Vercel, some of which include:
- Vercel CLI
- Creating a new project in the Vercel dashboard
- Connecting your Git repo to Vercel
Since we’ve been working with the Vercel CLI, we’ll continue to use it to deploy your project on Vercel.
When you’re ready to make your Express.js application live and publicly accessible, you can run the vercel command to create a deployment.
vercelThis will upload your application to Vercel, build it, and deploy it. When the command is finished, it will give you a URL to your application. This will create your first deployment for your project.
From this point forward, running vercel again will create a Vercel Preview Deployment. This will give you a different URL to your application where you can test you changes live on Vercel and share this link with others to test.
When you are ready to make the latest changes live on your production URL, you can run vercel —dev or vercel promote [url].